

Well, I thought I might share a few tips, tricks, and codes for adding custom stuff. I'm not going to share the codes all at once but make it more of a series.
So without further redundant explaining. Let's get started.

 I love adding buttons to my page for the blogs I like to read daily just so I can have easy access to their pages, instead of using the dashboard. I also like sharing with my readers blogs that I enjoy reading. And lastly I like to support others in the blogging community.
So to make your very own button for your page it's very simple. First off you need an image that you would like to be your button. I always use photoshop to create my buttons but whatever photo editing program you have, you can design one.(tips below on designing your own button) Once your image is designed, you just need to upload it online somewhere.
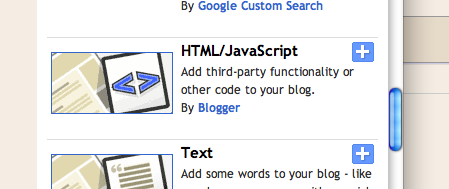 Now you need to add a html/java script widget to your page. Then you will paste this code in the box:
 To find your image address code you can right click and select "Copy Image Address" or if you use Photobucket you have to get the "Direct link for layout pages"
 WIDTH:
You can change the width of your image to fit where you want it. It goes by pixels, so if you don't know how many pixels just play with the sizes until it's just how you want it.
TEXT AREA:
You can also change the size of your text area with "rows" and "cols" This is the part people click on to get your button code. Just so you know, with this code, when you click in the text box it will automatically select all the text.
By the way, you always want to make your your code has [target="_blank"] that way your aren't directing people away from a site, but rather opening up the link in a new tab/window.
Once you plug in all the info just hit save and there you have our own button.
TIPS FOR DESIGNING YOUR BUTTON:
It's always a good idea to make a few different designs to give people options to decide what they want for their page. And different sizes are always good too. You can always resize other peoples buttons though to fit your page. We'll get to that at another time. Anyways, a good general width to start with would be 250 pixels, cause you can always adjust the width in the code to make it smaller. As far as your height goes, that depends on if you want a fat rectangle, skinny rectangle, or square. If you need help designing a button for your page, just message me and I can help you out.
If you have any questions, let me know and I can do my best to help you.
3 comments:
wow this is so great! thank you thank you for sharing! i would love to learn how to do it myself so i don't have to bother my friends!!
xo,
cb
oh this is awesome! definitely going to have to pass this on :)
great tutorial!!
Post a Comment